Marybank Estate
Dahlia Growing Guide
Marybank Estate Dahlia Growing Guide
Thinking about planting some Marybank dahlias? Here’s your simple guide to getting them started and keeping them happy!
What are Dahlia Tubers?
Dahlia tubers are like tiny storage bins for nutrients. They’re the parts of the plant that stay underground, storing up the energy needed for those gorgeous blooms. Dahlias will sprout from the “eye” (often a little bump) near the crown. No need to worry about size—anything bigger than a AAA battery is good to go!
Step 1: Choosing the Right Spot
Dahlias are sun-lovers! Choose a spot with 6-8 hours of sunlight a day. A bit of afternoon shade can help if you’re in a very warm area. Good drainage is also key since dahlias don’t like soggy roots.
Step 2: Preparing the Soil
Prepare your soil by clearing out weeds and adding some compost to give it a boost. If your soil tends to compact, loosen it up a bit to help with drainage. A layer of mulch (like pea straw or sugar cane) can keep things cool, retain moisture, and reduce weeds.
Step 3: Planting the Tubers
Plant your tubers about 10-15cm deep with the eye facing up.
Give each tuber around 30-40cm of space to grow.
If your climate is dry, you might space them closer together, but for humid spots, a little more distance is best.
Step 4: Staking for Support
Dahlias can get top-heavy, so it’s a good idea to stake them when you plant. Placing the stake early helps you avoid disturbing or damaging the tuber once it’s already in the ground. You can also create a simple string corral around the bed for extra support. This is especially handy if you’re in a windy spot!
For tall varieties, pinch out the tips once they reach about 40cm high (or 20cm for minis). This encourages bushier, self-supporting growth and keeps your plants strong.
Step 5: Watering and Mulching
Give your tubers a light watering after planting, then hold off until you see 10-15cm of growth. Use your judgment based on weather; a little moisture check with your finger can tell you if it’s time for a drink. Mulch can be added at planting or later for extra moisture control.
Step 6: Fertilizing
Dahlias are hungry! We recommend a chicken manure tea for the best growth. If that’s not available, bought compost or a monthly liquid fertiliser (like Neutrog Seamungus) during flowering also works well. Just be careful not to add too much nitrogen, as this can lead to leafy growth without as many blooms.
Step 7: Picking Flowers for More Blooms
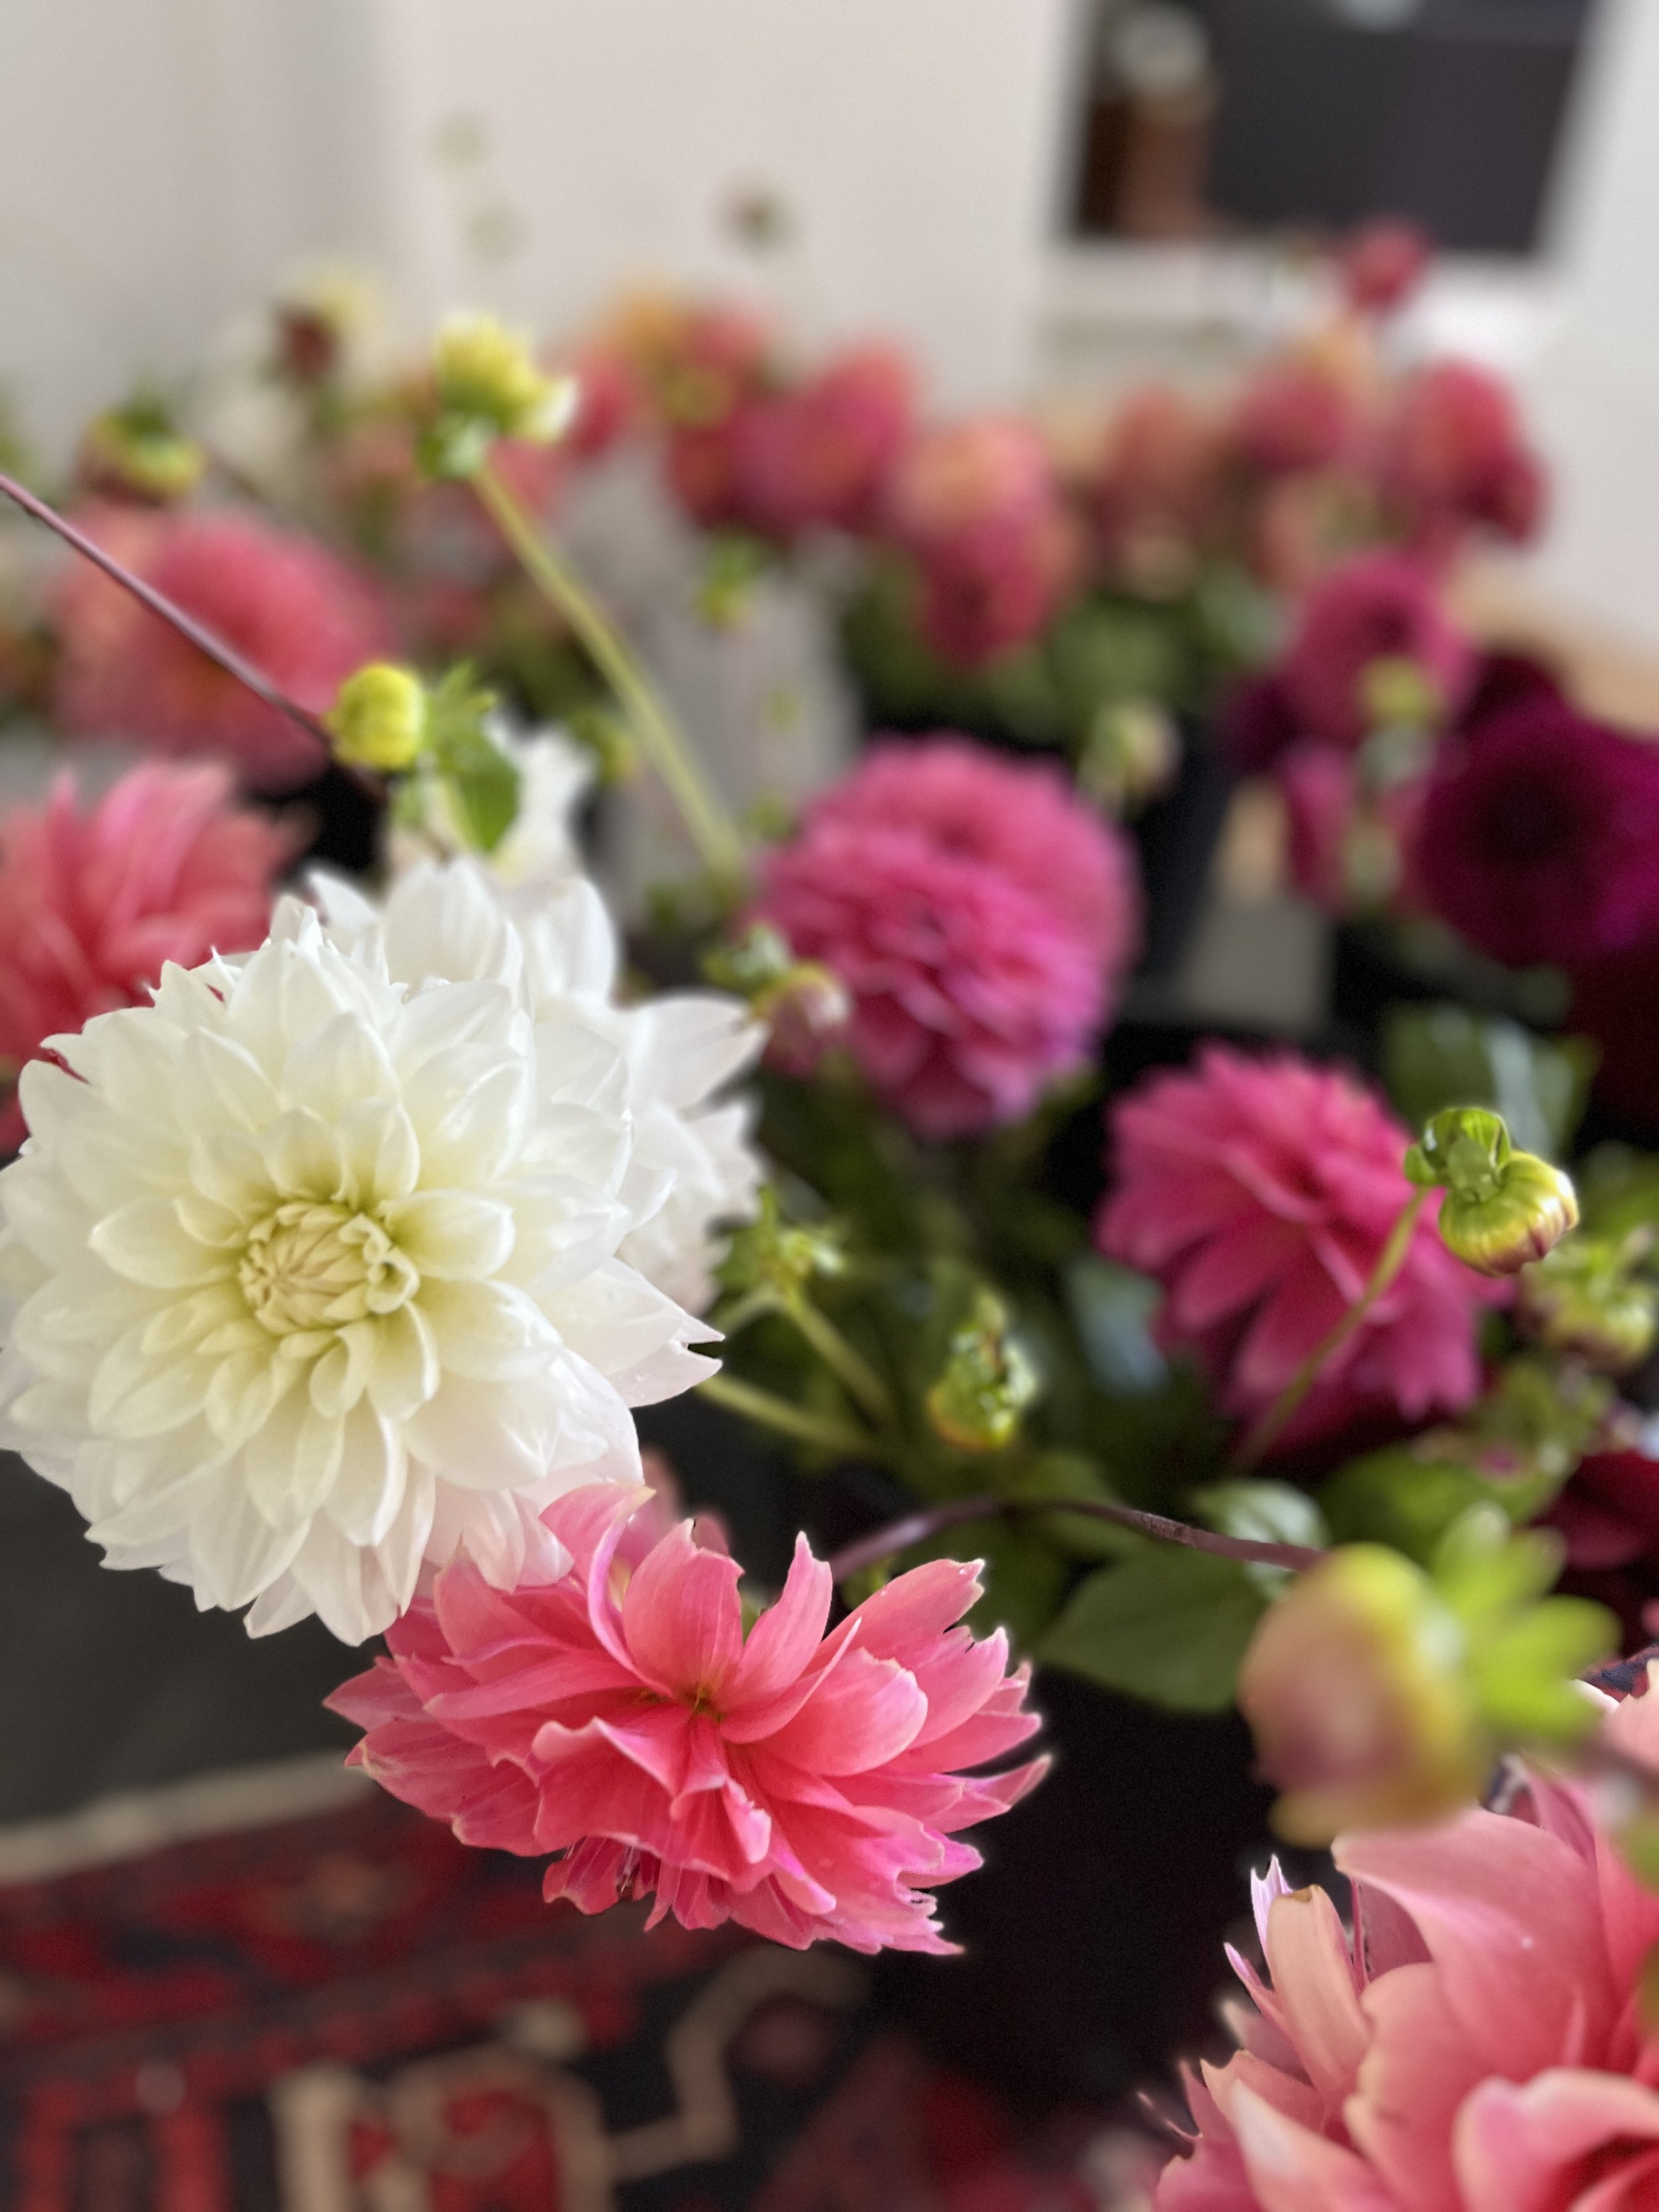
Regularly picking flowers encourages repeat blooming for months! You’ll not only get to enjoy fresh dahlias indoors, but your plant will also keep producing blooms all season long.
Step 8: Pest Patrol
Dahlias can attract aphids, mites, and sometimes slugs. If you’re using mulch, make sure it’s not touching the stem to help keep pests at bay. If you spot virus symptoms (unusual streaks or discolouration), it’s best to remove those plants to keep the others healthy.
Step 9: Enjoy!
With a little care, your dahlias will reward you with lush blooms. Take some time to sit back and enjoy the stunning flowers you’ve grown!
Dahlias: Hardy, Easy, and Oh-So Rewarding
Dahlias are surprisingly hardy and easy to grow, making them one of the most rewarding flowers to plant. With just a bit of attention, you’ll be treated to blooms all season long!

